Baldur’s Gate 3: How To Beat The Shadow Cursed Shambling Mound
While exploring the Shadow-Cursed Lands in, players may encounter the Shadow Cursed Shambling Mound: a horrific beast made of cursed vines. Fighting this particular boss is optional, but it’s far too easy for players to walk into the wrong area and trigger an ambush. The Shadow Cursed Shambling Mound often seizes the initiative, placing players on the back foot.
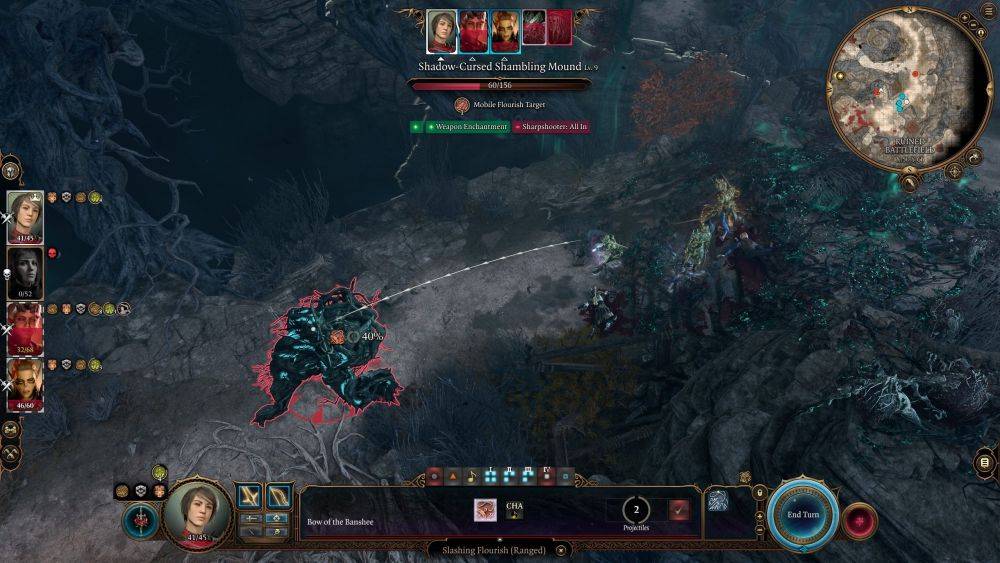
As you’re exploring the Shadow-Cursed Lands in Act Two of, you may come across the Shadow Cursed Shambling Mound in the Ruined Battlefield. This boss appears at coordinates X:49 Y:62 but getting close to the ambush site automatically triggers a DC30 Perception check. Passing the check prevents the ambush, but it isn’t easy to pass.
If you spot the ambush, then the fight against the Shambling Mound is much easier. Its main advantage is surprising the party, taking away your first turn and allowing its minions to get close. Without the ambush, a solid party composition can gain the upper hand with ranged and crowd control AOE attacks in the first turn.
One great tactic is to wait for the Shambling Mount to get within melee range and then use Shove to push it into a chasm for an instant kill. However, you will lose some loot by doing this.
However, your party may not be able to avoid the ambush. As such, you will have to face the boss and additional enemies including six Shadow Cursed Needle Blights and two Shadow Cursed Vine Blights. These enemies make the fight against the Shambling Mound much harder, and your priority should be to take them out first.
The Needle Blights have low HP, but explode on death, so attack them first using ranged attacks. With the right positioning, you can kill a Needle Blight, triggering an explosion that kills or injures other nearby enemies. Turning the death explosion against them is a useful tactic and killing them means they can’t rain down attacks on your party each turn.
When fighting lots of enemies, area-of-effect spells are ideal. Many of the best spells in are AOE
Related News


