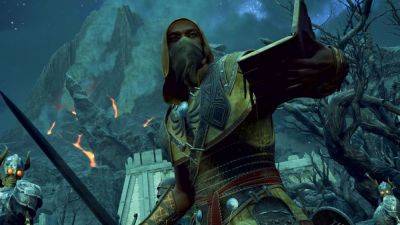
Senua’s Saga: Hellblade 2 - All Lorestangir Locations
To obtain the Tales of Midgard achievement in players must find and interact with all 18 Lorestangir and hear the story of Grettir. These special storytelling collectibles are hidden across the first five chapters of and Senua may need to journey off the beaten path to find them out in the wilderness of Viking Iceland.
Each chapter of, with the exception of Chapter Six, has a few Lorestangir. For them to count towards Senua's collection and the achievement, players need to zoom in and look at each totem until a red rune appears and some dialogue is triggered. It's worth noting that does feature Chapter Select, so none of the Lorestangir are missable.
Senua's Saga: Hellblade 2 is a triumphant return, delving deep into psychosis and Norse mythology while setting it apart from the first game.
Only one Lorestangir can be found in the first chapter, and it's easily spotted. Once Senua completes her arduous climb up the cliffs and stumbles through some impressive-looking sea spray, follow the main path along until the Lorestangir appears on the cliffside.
Other Lorestangir are more hidden, but the first one serves as a tutorial for what to do next. To interact with the Lorestangir, hold down the E key or controller triggers to zoom in on the runic glyphs. The glyph should glow red and a voice should start speaking, confirming that it has been claimed.
Players can track how many Lorestangir they have obtained by inspecting the runes on each totem. Each glyph on the totem represents one of the Lorestangir; if it glows, players can track it as claimed.
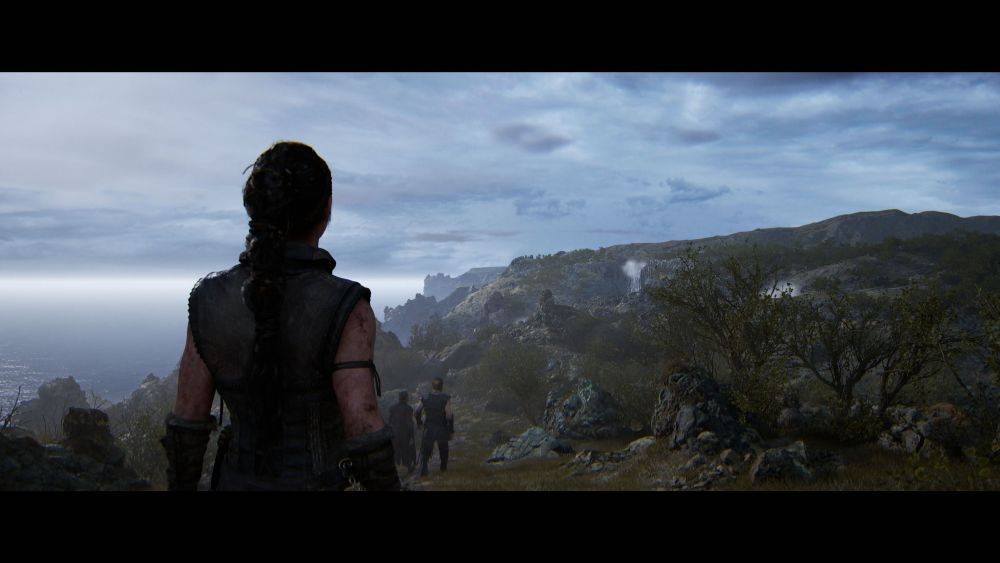
Chapter II opens with Senua following along after the captured slaver she defeated. There are a total of four Lorestangir to be found in Chapter II.
As soon as Senua starts walking alongside the slaver, she will come across a small hut with a thatched roof, and a small entrance gate marked by two posts. Head through the gate and round the left side of the hut to find the Lorestangir in a small area at the back.
After
Related News


