How to install Minecraft mods on PC, Mac, and consoles
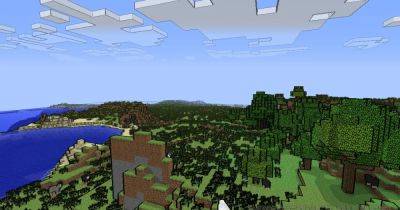
Not only is Minecraft the bestselling game of all time, but it’s also insanely addictive to play. Who could say no to an immersive polygonal world of mining, agriculture, and digital zombies? Released all the way back in 2009, both PC and console versions of the famous title have come along.
The Minecraft world has expanded many times over, and a lot of that expansion is thanks to its players. We’re talking about Minecraft mods, and the game has seen quite a few of these exciting add-ons over the last 15 years. And if you’d like to experience one of these mods yourself, we’ve put together this guide to teach you how to install them on your PlayStation, Xbox, and/or desktop.
Difficulty
ModerateDuration
20 minutesWhat You Need
Minecraft
Minecraft-friendly console
[Author’s note: This is a general overview of how to install Minecraft mods, not an all-encompassing guide. Installation can differ from mod to mod, so be sure to follow the download and installation instructions that can typically be found online alongside the download options.]
Installing Minecraft mods on Windows
There are a few different ways to get mods running with Minecraft, but the easiest and most popular method requires an application called Forge. Here’s how it works:
Step 1: Go to the official Forge website and download the recommended version of the software. You can also install the latest version of Forge, but it could have some unresolved bugs that will affect your ability to properly run some mods.
Step 2: Download the mods you want to install from a reliable source. CurseForge is a popular location with hundreds of great mods to choose from. However, not all mods are compatible with all versions of Minecraft, or even with Forge. Make sure to research the specific mod you’re interested in to find out if it’s compatible with your software.
Related- How to make a portal in Minecraft (Nether or End Portal)
- All the Minecraft cheats and console commands for console and PC
- How to grow