Alone in the Dark – How to Solve the Astronomical Clock Plate and Talisman Puzzle
The new reboot of Alone in the Dark is here, but the game still has a lot of old-school survival horror flavor, which means a lot of puzzles, secrets, and other mysteries to unravel. But don’t worry, we here at Wccftech are here to guide you past the tricky bits.
After retrieving the first Broken Plate piece in the Kitchen Garden well (here’s how to do that) you’ll have to find a second Broken Plate before solving a Talisman-related puzzle. This is arguably the first really serious puzzle sequence in the game, and can take some puzzling to figure out, but don’t worry, we’ve got you covered. Scroll on down for the walkthrough…
Related Story Alone in the Dark – How to Escape the Sunken Temple and Find the Sacrificial Dagger
Note: As with most puzzles in Alone in the Dark, the solution is the same regardless of whether you’re playing as Edward or Emily.
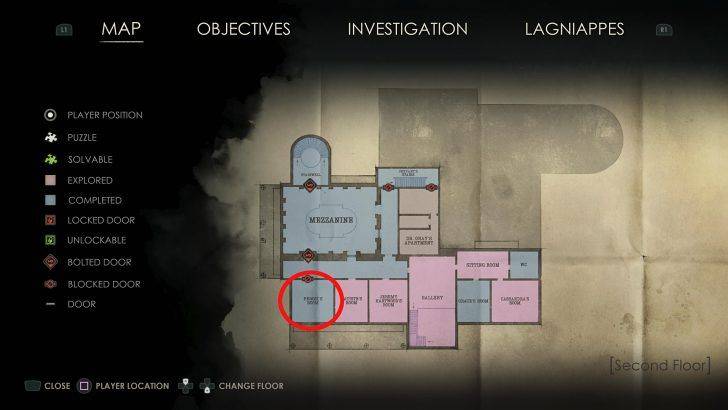
Midway through Chapter 2, head into the east wind of Derceto Manor on the second floor. Head to the last room at the end of the hall - - Perosi’s Room.
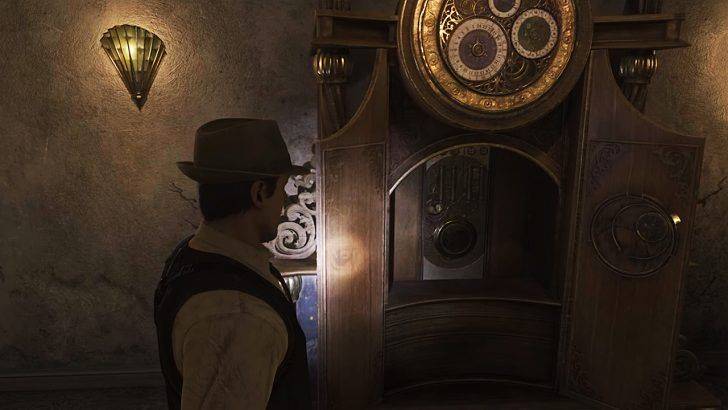
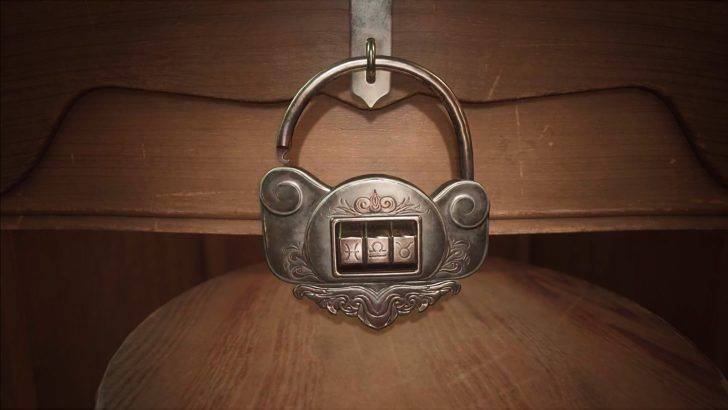
In here you’ll find a number of things to interact with, with your goal being to open the drawer in the vanity. But it’s locked behind a combination lock with strange symbols.
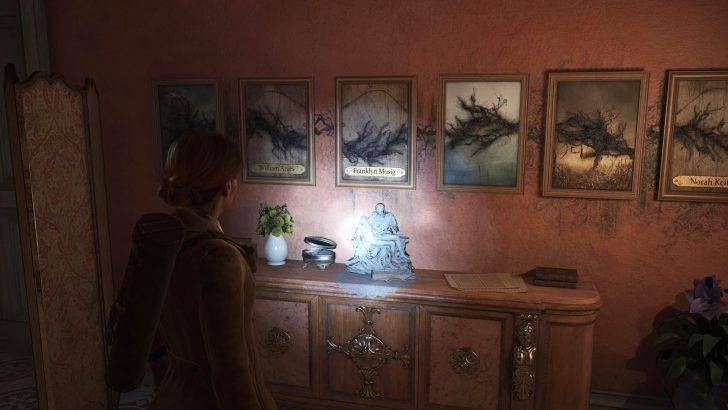
Pick up Perosi’s Journal on the blue couch in the corner of the room. Now examine the series of paintings on the wall on the opposite side of the room. Your goal here is to flip the individual painting so the black line running through them in continuous. You’ll end up with three pictures with name plates right-side up and readable. The names are – Willaim Arges, Franklin Mosig, and Norah Keith.
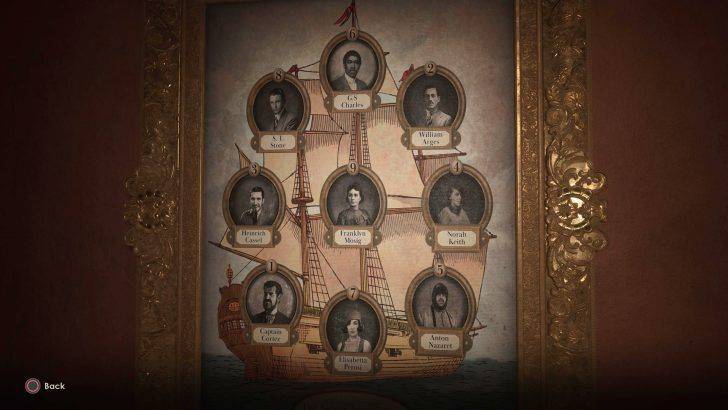
Now, cross reference these names with the picture above. You get three numbers – 2, 9, 4.
Finally, cross reference the numbers with the diagram in Perosi’s Journal, and you get three symbols – the two lines bound together, the omega symbol, and the goat’s head. In case my description of the symbols aren’t clear enough, you can just check out the combo above. This will award you with another piece of Broken
Related News


